Fix defects fast: diagnose in order, don’t guess
Most wall printing defects are not “bad ink.” They come from surface conditions, setup consistency, or file/settings. A simple diagnosis routine saves hours of rework and protects your on-site reputation.
CTA: If you share a defect photo + wall surface, we can recommend the likely cause and fix steps. If you also need parts/support, start here: /support/

The 3-step diagnosis rule (fast)
When a wall print looks wrong, don’t guess. Diagnose in order:
- Wall surface Texture, dust, moisture, instability (chalky paint, loose powder, contamination).
- Machine setup Leveling, distance control, alignment start point, stability (vibration/foot traffic).
- File / settings Scaling, print mode (speed vs quality), and white ink underbase if needed.
Rule of thumb: Most defects are setup, not “bad ink.” For a repeatable SOP, see: /wall-printing-workflow/
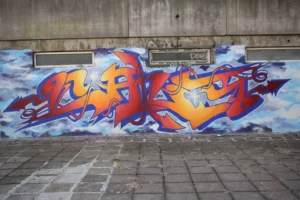
Defect 1–4: banding, lines, streaks, uneven solids
Banding lines across the mural
Most common cause: leveling or distance consistency.
Fix: stop early, re-level base, verify distance, run a test patch.
Vertical streaks or repeated patterns
Cause: inconsistent movement or setup instability.
Fix: confirm rail stability, reduce vibration, avoid foot traffic near base.
Uneven solid colors
Cause: wall surface variation or printing too fast.
Fix: use quality mode for big solid areas; do a patch on the same wall zone.
Gradients look “stepped”
Cause: low-quality file or wrong settings.
Fix: use a better source file; switch to higher quality mode.
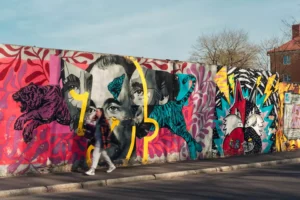
Defect 5–8: blurry edges, ghosting, misalignment, color shifts
Blurry edges
Cause: distance too far or wall texture.
Fix: adjust distance; redesign to bolder shapes if texture is heavy.
Ghosting / double image effect
Cause: movement inconsistency or vibration.
Fix: stabilize base, reduce speed.
Misalignment on long prints
Cause: start point error or drift.
Fix: strict start point marking; break long murals into controlled sections if needed.
Color shifts mid-wall
Cause: wall tone variation or white ink underbase inconsistency.
Fix: run a test patch; use white ink where needed for brightness consistency. See: /wall-printer/white-ink/
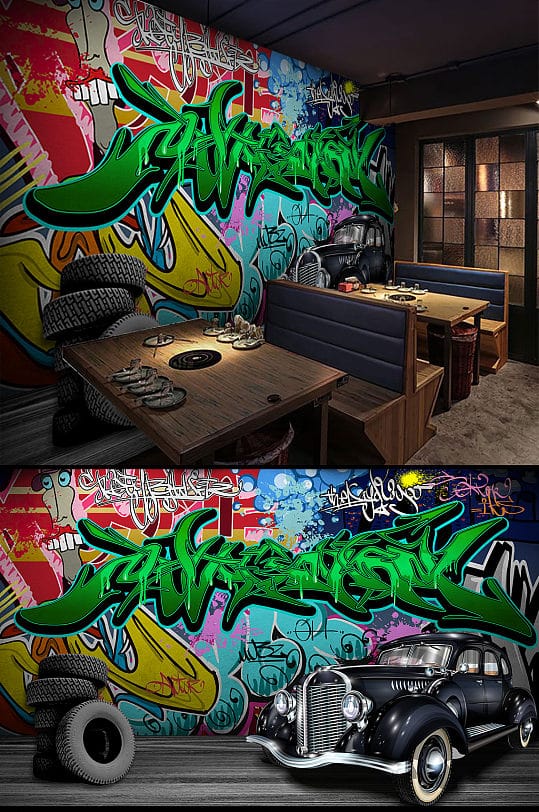
Defect 9–12: adhesion failure, peeling, scuffing, outdoor fading
Adhesion failure (ink rubs off)
Cause: dust/oil/moisture or unstable paint.
Fix: clean/prime/seal; test patch again.
Peeling edges
Cause: wall instability or contamination.
Fix: surface prep and acceptance rules (don’t print on unstable walls).
Scuffing in high traffic
Cause: environment and cleaning habits.
Fix: offer protective coating add-on + provide care notes.
Outdoor fading
Cause: sunlight and weather exposure.
Fix: set realistic expectations; choose bold designs; consider protective solutions.
When to stop printing and reset
Knowing when to stop is a professional skill. Stop early if:
- Banding appears in the first sectionFix leveling/distance before the mural gets bigger.
- Adhesion looks unstableIf ink rubs off, a full print will likely fail later.
- Alignment is obviously wrongReset start point and re-check stability.
Rework is cheaper at 5% completion than at 95%.
Prevention checklist (best habits)
The best troubleshooting is prevention. These habits reduce repeat failures:
- Leveling discipline every jobMost “mystery defects” start with leveling.
- Test patch on new surfacesSurface variation is real; test patch prevents surprises.
- Match design to textureBold wins on rough walls; micro detail fails.
- Keep a log of defects and fixesTurn one-off problems into repeatable solutions.
- Follow daily maintenance routinesClean environment + consistent routine prevents downtime.
Wall Printer quote checklist Send These 7 Items
- Country + city
- Typical wall height range
- Typical job size
- Main wall surfaces
- Indoor only or indoor + outdoor
- Dark walls needed?
- Power standard
CTA: Send defect photo + surface info → likely cause + fix steps.
Get a quote