To print on wood panels successfully, your results depend more on surface prep and sealing than on any “max resolution” spec. Wood is not a uniform substrate: it absorbs ink unevenly, it has grain, it can be dusty after sanding, and coatings can destroy adhesion.
This guide covers:
- which wood types are easier vs harder,
- a step-by-step prep checklist,
- when sealing is required,
- how to run quick adhesion and durability tests,
- and the common mistakes that cause refunds.
1. Print on wood panels: why wood is tricky
Wood panels can create premium-looking prints, but the risks are:
- uneven absorption → patchy color,
- dust contamination → weak adhesion spots,
- grain texture → jagged edges on fine details,
- coatings/varnish → ink fails to bond.
You can’t “fix” these with settings alone. You fix them with prep + testing.
2. Wood types: what usually works best
2.1 MDF
Often consistent and predictable—good for repeatable results.
2.2 Plywood
Quality varies by grade; edges can absorb differently; test patches are important.
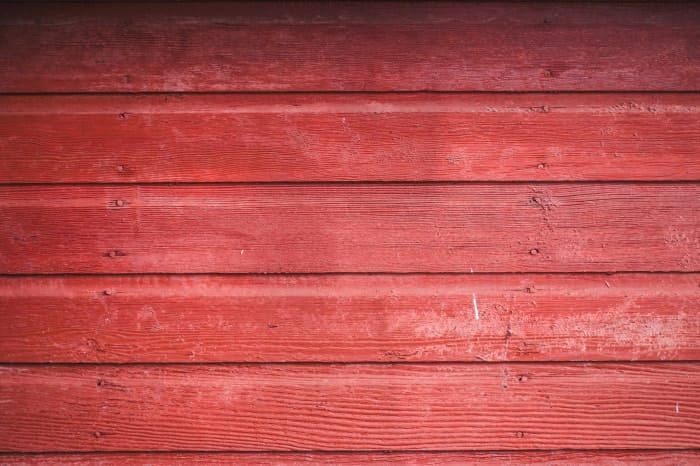
2.3 Solid wood
Grain can be uneven. Works best when sealed and tested.
2.4 Pre-finished or laminated panels
Can look great, but adhesion is the biggest variable—always test.
3. Surface prep checklist (step-by-step)
- Light sanding to remove gloss and improve bonding
- Vacuum thoroughly (dust is your enemy)
- Microfiber wipe (don’t smear dust back)
- Degrease if needed (especially kitchen panels)
- Apply seal coat for porous wood or strong grain
- Allow full cure time
- Print a test patch before production
If you skip steps 2–6, your print may look fine today and fail after cleaning.

4. Seal vs no-seal: what changes
No seal often causes:
- uneven absorption,
- “muddy” colors,
- weak adhesion in grain areas.
Sealed surfaces often produce:
- more consistent color,
- better edge definition,
- improved durability and easier cleaning.
5. Adhesion + durability tests (quick field tests)
Before you commit to a full batch:
- scratch test: after curing, scratch lightly to test bonding
- wipe test: water + mild cleaner (simulate real use)
- edge test: corners and edges often fail first
If your test patch fails, adjust prep and sealing—don’t “hope it’s fine.”
6. Practical note: where Printava fits
Substrate work like wood benefits from a documented workflow: prep steps, test patch routines, and consistent maintenance to keep output stable. Printava typically supports an operator-first approach—clear setup guidance, maintenance SOP, and practical troubleshooting routines—which helps teams standardize results across changing substrates.
Strong internal link: if you’re building production capability →
/wall-printer-for-sale/.