If you’re searching portable wall printer, you probably plan to print at customer sites: homes, cafés, offices, gyms, hotels. Portability is valuable—but only if stability is good enough to keep rework low.
Portable setups succeed when you control:
- transport constraints (packed size, stairs, elevators),
- a repeatable setup routine,
- and proof-based demo requirements (pause/resume, close-ups, test packs).
1. Portable wall printer: who should buy it (and who shouldn’t)
A portable wall printer is a strong fit when:
- you do frequent on-site work,
- you need quick deployment across locations,
- you want a “service-first” model (murals, brand walls, décor upgrades).
It may be a poor fit if:
- you refuse workflow discipline,
- you want “no prep, no calibration,”
- your team can’t follow a setup SOP consistently.
Portable printing is not “easier.” It’s “more flexible,” which requires process.
2. Portable wall printer tradeoff: portability vs stability
The biggest portable mistake is chasing the lightest machine. Too light can be sensitive to:
- uneven floors,
- vibration,
- alignment drift,
- micro-movements during printing.
Too heavy slows deployment and increases labor cost. The real goal is: the fastest deployable setup that still maintains repeatable alignment.
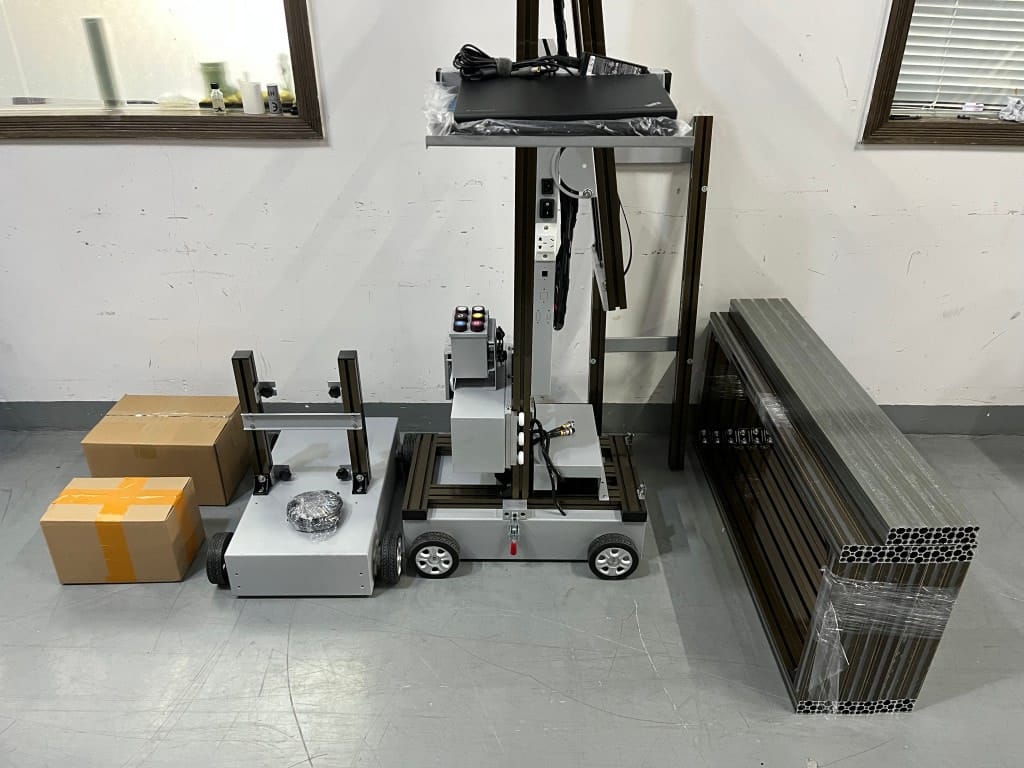
3. Transport checklist (avoid jobsite surprises)
Before buying, confirm:
- packed size and weight (ask for photos with measurements),
- number of cases/boxes,
- whether one person can handle setup or you need two,
- elevator/stair feasibility,
- power requirements and plug type,
- cleaning routine after travel (dust is a hidden enemy).
This is where many “great machines on paper” fail in real life.
4. 60-minute on-site setup SOP (repeatable routine)
Use a simple SOP to reduce mistakes:
4.1 Unload + site check (10 min)
Confirm wall access, remove hazards, protect floors, and set expectations with the client.
4.2 Measure + mark start point (10 min)
Measure width/height, note obstacles (outlets/trims), and mark a consistent start reference.
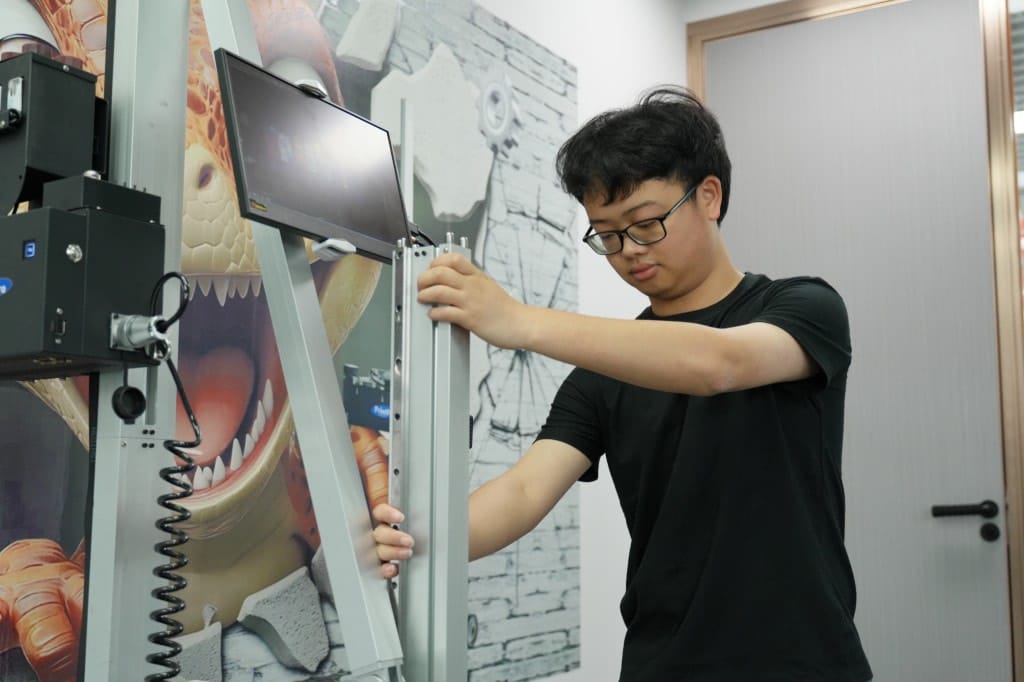
4.3 Assemble + level (10 min)
Leveling is non-negotiable for alignment stability.
4.4 Nozzle check + calibration (10 min)
Run checks before you commit to a full wall. Fixing issues early saves hours.
4.5 Test patch (10 min)
Test adhesion and color under real lighting. If the wall is porous or dusty, fix prep before printing.
4.6 Print + monitor edges (10 min+)
Monitor edges and continuity, especially if you pause/resume mid-job.
5. Quote checklist + red flags
Send the standard quote inputs:
- destination, power, wall height range, surfaces, indoor/outdoor, dark wall needs, monthly workload.
Red flags:
- “cheap price” with no inclusion list,
- refuses pause/resume proof,
- no spare parts planning,
- no support response time.
Strong internal link: ready to purchase →
/wall-printer-for-sale/.6. Practical note: where Printava fits
Portable success depends on workflow repeatability. Printava typically supports that by matching configuration to your job profile and providing operator-first guidance: setup steps, maintenance SOP, and a starter spare-parts plan. That tends to reduce jobsite rework and makes timelines easier to control for small teams.