Your first wall printer setup guide is repeatability, not speed
A good first wall printer setup day is not about printing the fastest mural. It’s about building a repeatable routine: unboxing → inspection → leveling → distance control → first test patch. When your process is stable, your output becomes stable — and your first client job becomes much less stressful.
CTA: Request our setup SOP + live video guidance with your quote. Quick form: /get-quote/
Keywords covered
- wall printer setup / wall printing machine setup
- vertical wall printer calibration / wall printer leveling
- how to set up a wall printer / first wall print test patch
Before you unbox: site and tools checklist
Your first setup should be done in a calm environment. Choose a site that helps you learn the machine without extra variables:
- Stable floor + enough clearancePrevent vibration and give yourself safe movement space.
- Smooth test wallClean painted drywall is ideal for your first learning prints.
- Good lightingEdges and gradients must be inspected under normal lighting.
- Basic toolsTape, measuring tools, protective covers, wipes/cleaning supplies.
Day-one goal: build a repeatable process. Don’t chase speed.
If you run the same routine every time, you’ll reduce rework and increase profit predictability. Internal link: /wall-printing-workflow/
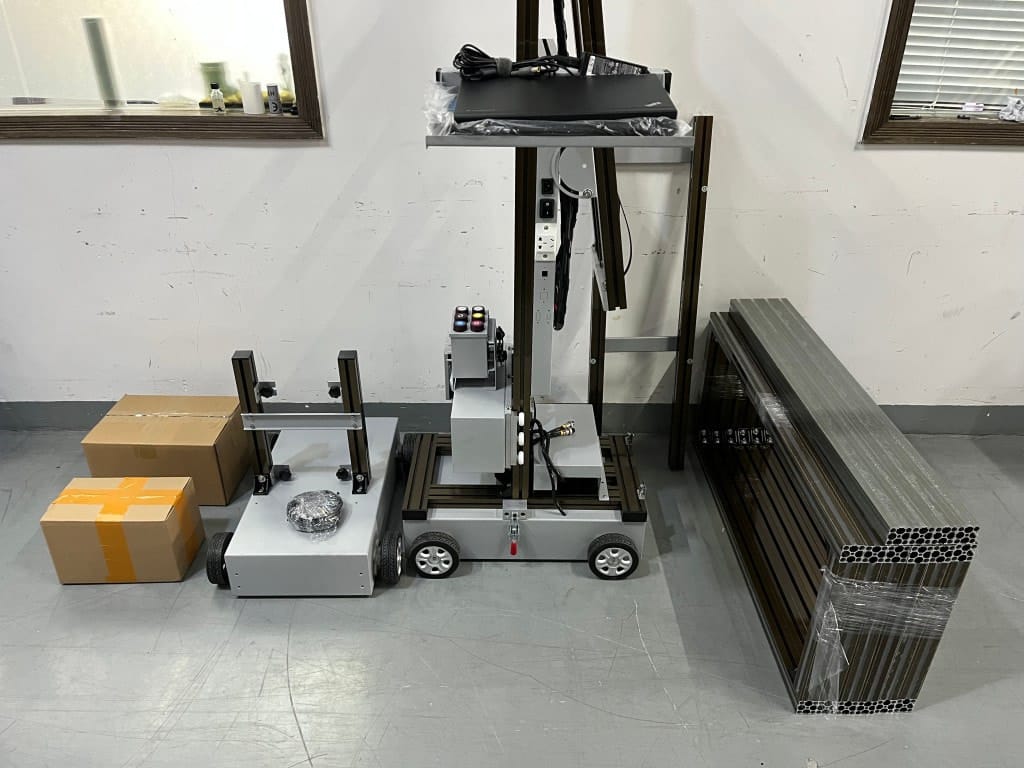
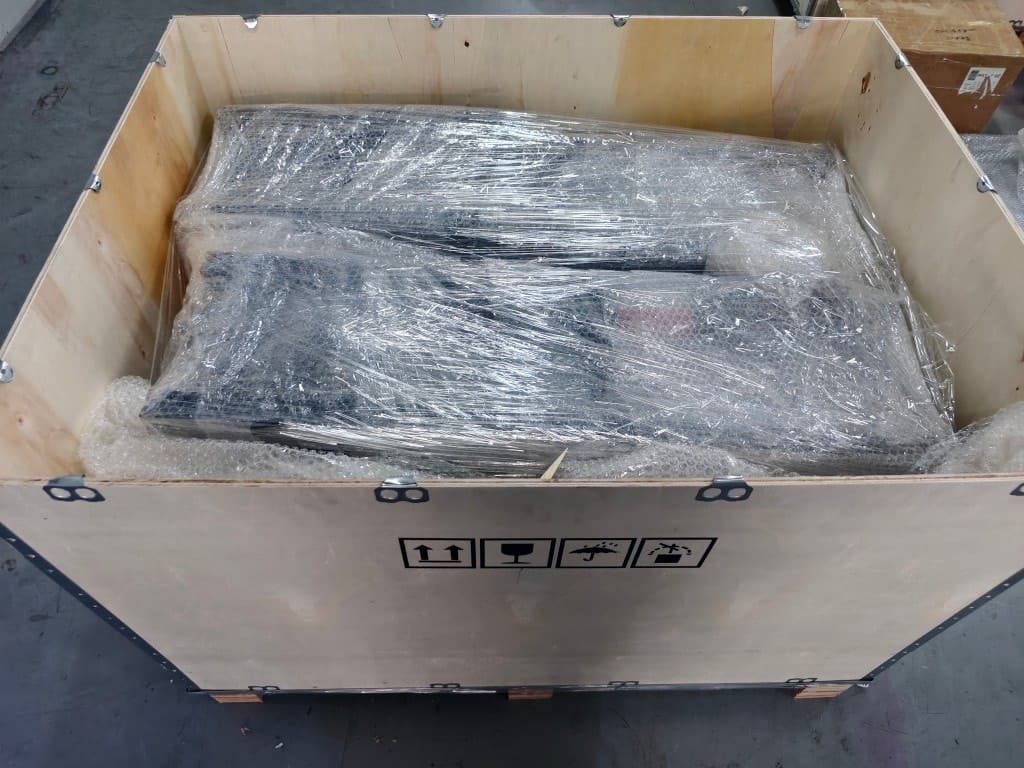
Unboxing and inspection
Before assembling anything, treat unboxing like a professional acceptance check. It prevents “missing small parts” delays and protects you if anything was damaged in shipping.
- Inspect the crate for damageLook for dents, holes, water marks, and crushed corners.
- Photograph the crate + contentsTake photos before and during opening.
- Confirm accessories and cablesUse an accessory checklist if provided.
- Verify manuals + spare parts kitMake sure you have required documents and starter spares.
- Confirm voltage/plug + requested configurationFix mismatches before setup day becomes troubleshooting day.
If you need help confirming configuration or first-time assembly steps, use: /support/
Leveling: the non-negotiable step
Leveling is the #1 factor behind banding and alignment issues. Do it every job, and practice it during setup day. “Almost level” is usually not enough for long murals.
A simple leveling routine
- Level left-to-rightGet the base stable across the horizontal axis.
- Level front-to-backRemove tilt that causes distance changes during travel.
- Lock and re-checkLocking can shift pressure points — always re-check after locking.
- Re-check after any movementIf the base moves, re-level. Don’t “hope it’s fine.”
Internal link: /wall-printing-workflow/
Distance control and alignment
Wall print quality depends on consistent nozzle-to-wall distance: too close increases head-strike risk; too far causes soft edges and lost detail. Distance control is also what makes your output predictable across different wall sections.
Mark a start point
Use tape to mark the origin point so alignment is repeatable and not “estimated.”
Mark a vertical reference line
This helps you confirm straightness and prevents “drift perception” during long prints.
Confirm boundaries and obstacles
Avoid outlets, shelves, frames, and uneven trims that can break distance consistency.
If you are selecting equipment for different wall types and ceiling heights, explore: /wall-printer/
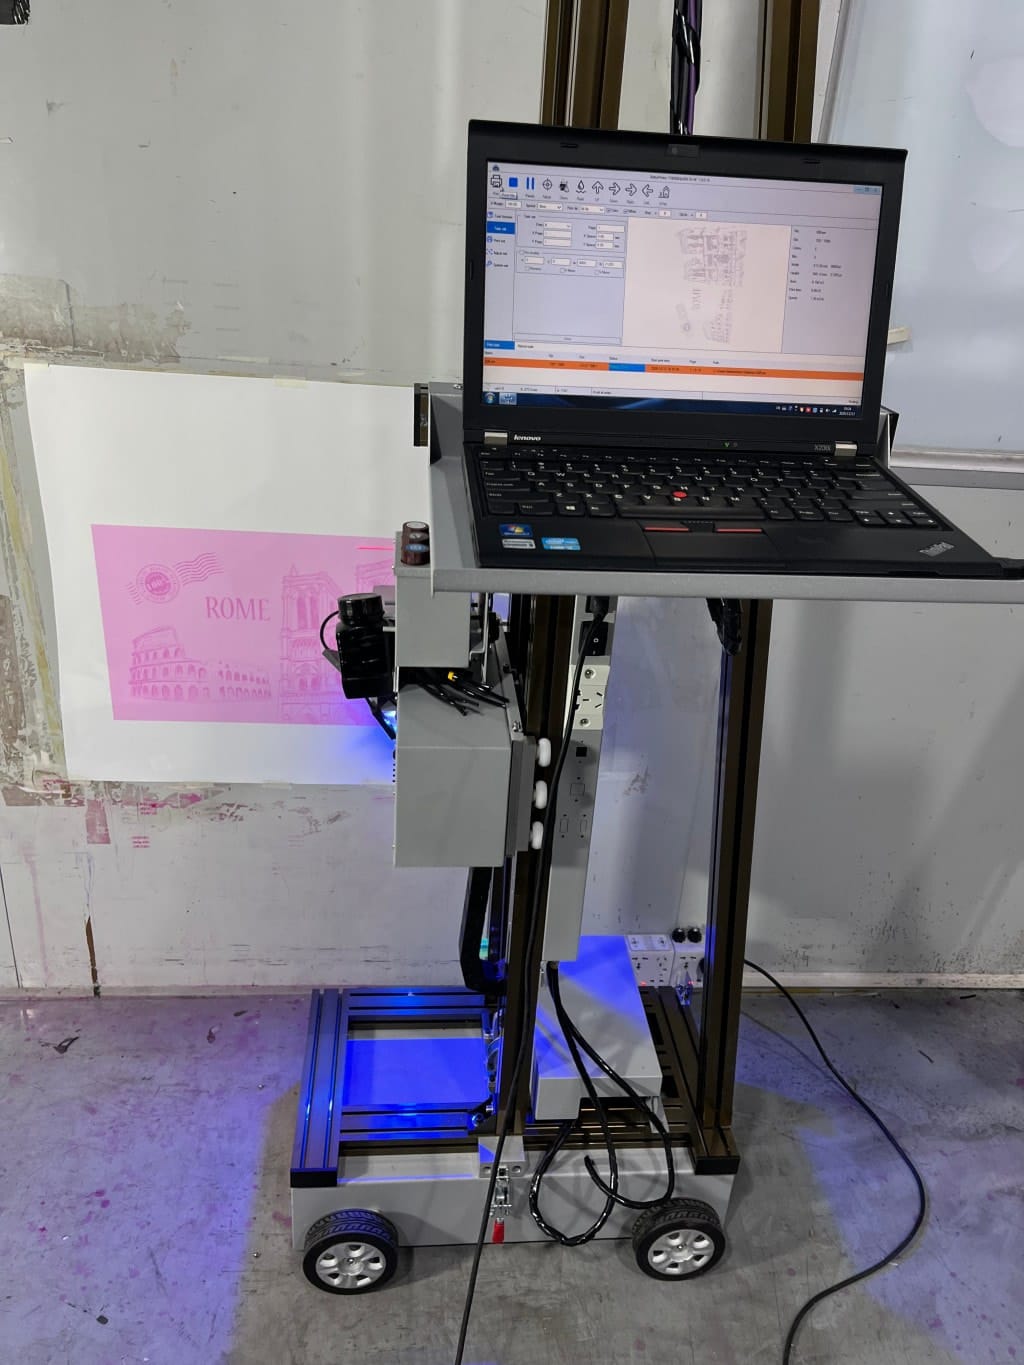
First test patch: what to include
A test patch is your cheapest insurance. If the patch is wrong, fix setup before printing a full wall. Your test patch should include the elements that reveal problems quickly:
- Small textChecks edge sharpness and distance consistency.
- A gradientReveals banding or stepped output early.
- A solid blockChecks uniformity and consistency.
- A detailed image areaShows “real output” beyond simple shapes.
If the test patch fails, do not “push through.” Fix leveling/distance/settings first.
Internal link: /wall-printing-workflow/
Printava setup tips: features that help beginners
When you’re new, features that reduce human error are worth highlighting in your SOP. For Printava (PrintPro) setups, these can be especially helpful (availability depends on configuration):
- Laser cross positioning to place logos and key elements exactly where the mockup shows
- Mosaic workflow for long walls to plan continuity and avoid “stitched” perception
- Data recovery / resume printing to protect you from interruptions mid-job
- Nozzle inspection routines to keep output stable before committing to a full mural
- Print distance adjustment in software to handle small wall variations
Explore models: /wall-printer/
Support resources: /support/
First mural workflow (safe routine)
For your first mural, choose a setup that makes success likely. The goal is confidence and consistency.
- Pick a bold designAvoid tiny text on your first job.
- Use a smooth wallReduce texture variables while you learn distance control.
- Print in quality modeAvoid ultra-fast settings at first.
- Watch the first 5 minutes closelyStop early if defects appear.
- Inspect under normal lightingDon’t judge only under harsh workshop lighting.
Slow and correct makes your second job much easier.
Wall Printer Quote Checklist Send These 7 Items
- Country + city
- Typical wall height range
- Typical job size
- Main wall surfaces
- Indoor only or indoor + outdoor
- Dark walls needed?
- Power standard
CTA: Ask for setup SOP + live video guidance with your quote.
Quick form: /get-quote/