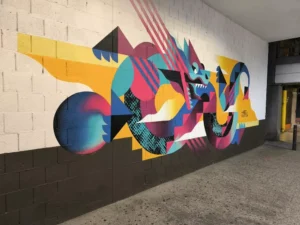
The fastest way to ruin a mural is a bad file
Wall Printing File Prep: a wall printer can’t invent missing detail. If the file is wrong, the mural will look cheap — no matter how good the machine is. This guide shows a practical file prep SOP: sizing in real units, realistic resolution expectations, client-friendly formats, and design rules that match different wall surfaces.
CTA: Send your wall size + artwork file. We’ll confirm print readiness. Quick form: Get a quote
Keywords covered
- wall printing file prep / mural file sizing
- wall printer file format / wall mural resolution
- DPI for wall printing / how to size a mural for wall printer
The file mistakes that make murals look cheap
The fastest way to ruin a mural is a bad file. Common problems we see in real projects:
- Tiny web images stretched largeLow-res images become blurry, noisy, and “cheap-looking.”
- Wrong scalingWall size guessed, not measured — logos end up too big/small or cut off.
- Unreadable textFont sizes chosen for a screen, not real viewing distance.
- Compression artifactsGradients show banding and blocks after heavy JPG compression.
- Ignoring wall colorDark or colored walls can mute colors without planning and testing.
Rule: the printer prints what you give it. File quality is the foundation.
If you need a repeatable on-site workflow (test patch + QC), see: wall-printing-workflow
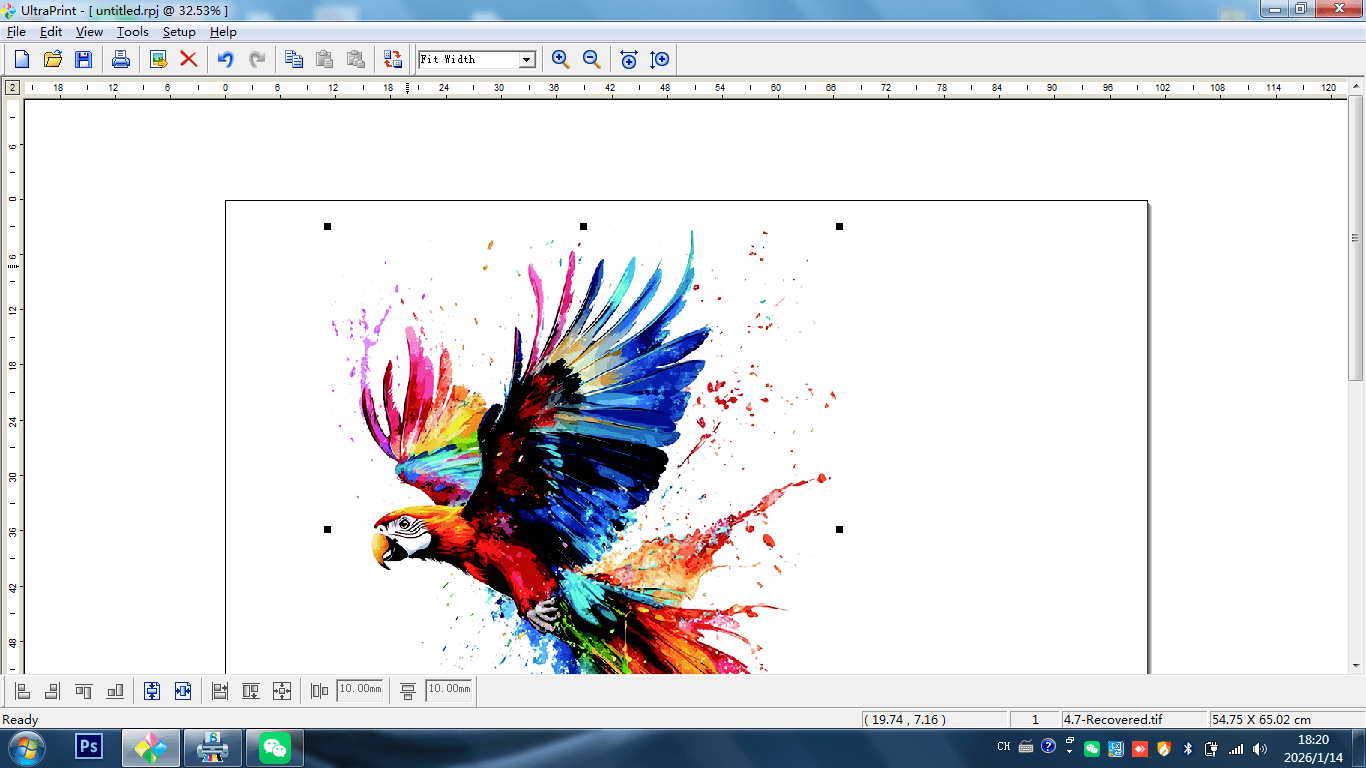
Correct sizing in real units
File sizing starts with real measurements — not estimates. Before you open any design software, confirm:
- Wall width and heightMeasure the actual printable area.
- Obstacles and boundariesOutlets, trims, frames, pipes, shelves, signage, wall lamps.
- Safe marginsKeep critical content away from edges and obstacles.
Best practice sizing routine
- Set artwork size in real unitsmm/cm/in — match the wall measurement.
- Confirm placementUse tape layout if needed, especially for logos and headlines.
- Protect the edgesKeep logos and critical text away from edges and trims.
Resolution expectations (practical view)
“DPI for wall printing” is commonly misunderstood. There is no single magic DPI. What matters most is viewing distance and design style.
Close viewing (homes, corridors)
Cleaner source images matter more because people stand near the wall and inspect details.
Medium viewing (offices, cafés)
Balance detail and boldness. Fonts and edges should remain crisp in normal lighting.
Far viewing (large lobbies)
Bold design matters more than micro-detail. High contrast wins.
Instead of chasing a “perfect DPI,” focus on:
- Clean source imagesHigh-quality originals beat upscaled web images.
- Minimal compressionExport cleanly; avoid repeated saving of JPGs.
- Vector text and logosEdges stay sharp at any size.
Best formats to request from clients
File problems usually start upstream: clients send what they have (often small JPGs). Your job is to ask for formats that protect output. A practical “client request list”:
- Vector logo filesAI/PDF (and SVG if available) for sharp edges and scalable text.
- High-quality rasterPNG/TIFF/JPG for photos and textures (avoid messaging-app compression).
- Final exported file after layout confirmationPrevent last-minute scaling changes.
- Outlined fonts (when needed)Avoid missing fonts and text shifting.
If the client only has a small JPG, propose a redesign: bold vector shapes + strong geometry often looks more premium than a blurry photo mural.
Need help? Request file guidance via: support
Design rules by wall surface
Surface texture sets a ceiling on detail. Design for the wall, not against it:
Smooth drywall
- photos and portraits
- gradients and subtle shading
- fine detail and smaller typography (within reason)
Brick / rough concrete
- bold shapes and large text
- high contrast compositions
- avoid micro-details and tiny fonts
Internal links: /print-on-brick-wall/ · /print-on-concrete-wall/
Printava recommendation: long-wall continuity and positioning
For long walls and continuous themes, planning matters as much as the file itself. The best long-wall results come from combining: file planning + positioning + test patch.
Practical tips that reduce “big wall fear”
- Laser cross positioning helps lock critical elements (logo, headline) to the mockup location so clients don’t feel “it’s off.”
- Mosaic-style continuity supports long-wall visuals, but works best when the file is designed for continuity: keep a consistent horizon line, avoid micro-detail near transition zones, and reserve safe margins for key info.
- Test patch discipline makes the outcome predictable before you commit to the full wall.
Explore options: wall-printer
Workflow support: wall-printing-workflow
Pre-flight checklist
Before you print, run a simple pre-flight checklist. It prevents the most common “last-minute surprises.”
- Wall size confirmed (real units)Width/height measured and documented.
- Obstacles mapped + safe margins setOutlets, trims, shelves, signage, and boundary limits.
- Text readable at viewing distanceDon’t design for screens—design for real walls.
- Clean export (no random scaling)Confirm final output size before export.
- Mockup approved by clientReduce disputes with visual confirmation.
- Test patch plan readyMandatory for new surfaces or premium projects.
Internal link: wall-printing-workflow
Wall Printer Quote Checklist Send These 7 Items
- Country + city
- Typical wall height range
- Typical job size
- Main wall surfaces
- Indoor only or indoor + outdoor
- Dark walls needed?
- Power standard
CTA: Send wall size + artwork file → print readiness check + next steps.
Quick form: Get a quote